Parallaxでリッチなチュートリアルを作成する
時々見かける、手が込んでる感じがするチュートリアルを作成するためのチュートリアルです。
6つのパターンを紹介します。GitHubに上がっているコードを元に説明します。
- 背景をグラデーションさせる
- インジケーターを表示する
- インジケーターを変形させる
- Viewをアニメーションさせる
- Viewを指定位置へアニメーションさせる
- 視差を使う
基本的な構成として、ViewPagerと、アダプターにFragmentPagerAdapterを使っています。
なので子要素はFragmentです。
背景をグラデーションさせる
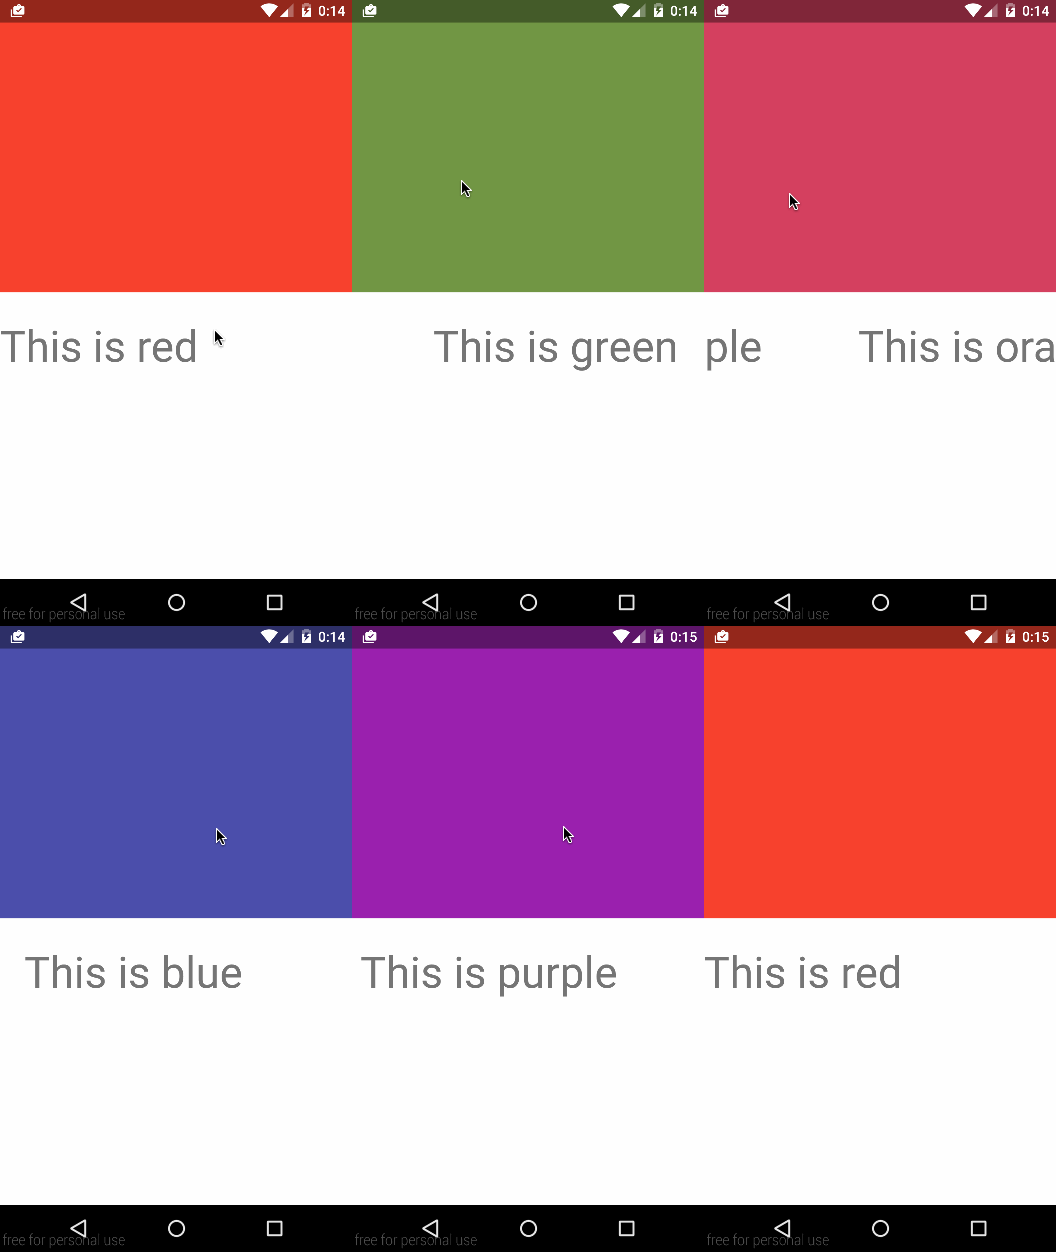
- GradationActivity
以前紹介したArgbEvaluatorを利用しています。
2色間のグラデーションを行うので、 画面数+1の色の配列を用意 するのがポイントです。
今回の例だと画面数が5つなので、6つの配列にし、6つ目は4つ目と同じ色を渡し、計算させています。
ViewPager.OnPageChangeListener#onPageScrolledのpositionOffsetは、スクロールに応じて0~1の値を返すので、スクロール度合いを計算できます。
    @Override
    public void onPageScrolled(int position, float positionOffset, int positionOffsetPixels) {
        viewPager.setBackgroundColor((Integer) mArgbEvaluator.evaluate(positionOffset, colors[position], colors[position + 1]));
    }
インジケーターを表示する
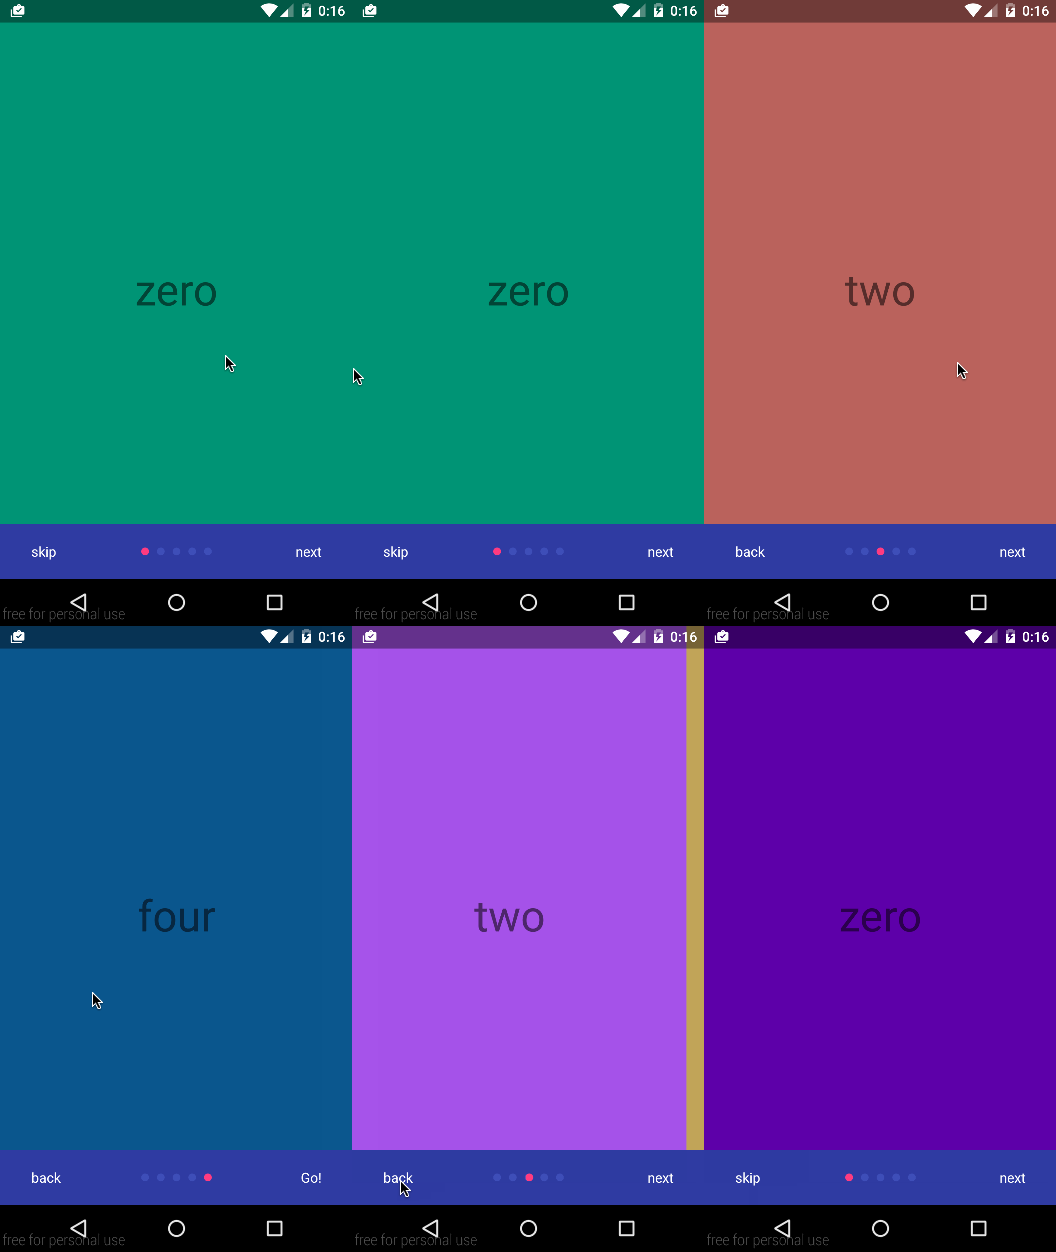
- IndicatorActivity
様々な実装方法が考えられると思いますが、今回は、固定されたインジケーターの上に、色をつけたViewを適宜動かす方法で実装しました。
インジケーターは Activityに設置し、どのFragmentでも常に表示されるようにしています。
<?xml version="1.0" encoding="utf-8"?>
<RelativeLayout
    xmlns:android="http://schemas.android.com/apk/res/android"
    xmlns:tools="http://schemas.android.com/tools"
    android:id="@+id/layout_indicator"
    android:layout_width="match_parent"
    android:layout_height="match_parent"
    tools:context="com.sakebook.android.sample.parallaxsample.acitvities.IndicatorActivity">

    <android.support.v4.view.ViewPager
        android:id="@+id/view_pager"
        android:layout_width="match_parent"
        android:layout_height="match_parent"/>
    ...
    <View
        android:id="@+id/view_indicator_1"
        android:layout_toLeftOf="@+id/view_indicator_2"
        android:layout_alignTop="@+id/layout_footer"
        android:layout_marginTop="@dimen/large_margin"
        android:background="@drawable/circle"
        android:layout_width="@dimen/small_margin"
        android:layout_height="@dimen/small_margin"/>
    ...
    <View
        android:id="@+id/view_float_indicator"
        android:background="@drawable/circle_hover"
        android:layout_alignLeft="@+id/view_indicator_1"
        android:layout_alignRight="@+id/view_indicator_1"
        android:layout_alignTop="@+id/view_indicator_1"
        android:layout_alignBottom="@+id/view_indicator_1"
        android:layout_width="@dimen/small_margin"
        android:layout_height="@dimen/small_margin"/>

</RelativeLayout>
view_float_indicatorがインジケーターの上を移動する、色をつけたViewです。
グラデーションの時と同様に、スクロールに応じてViewを移動させる必要があるので、次のようにViewを移動させています。
    @Override
    public void onPageScrolled(int position, float positionOffset, int positionOffsetPixels) {
        indicatorFloatView.setTranslationX((position * indicatorSpace) + (positionOffset * indicatorSpace));
    }
フッター両端にテキストを置いて、位置に応じてテキストが変わるようにしています。
    @Override
    public void onPageSelected(int position) {
        if (position == 0) {
            back.setText(getString(R.string.footer_skip));
        } else {
            back.setText(getString(R.string.footer_back));
        }

        if (viewSparseArray.size() == (position + 1)) {
            next.setText(getString(R.string.footer_go));
        } else {
            next.setText(getString(R.string.footer_next));
        }
    }
インジケーターを変形させる
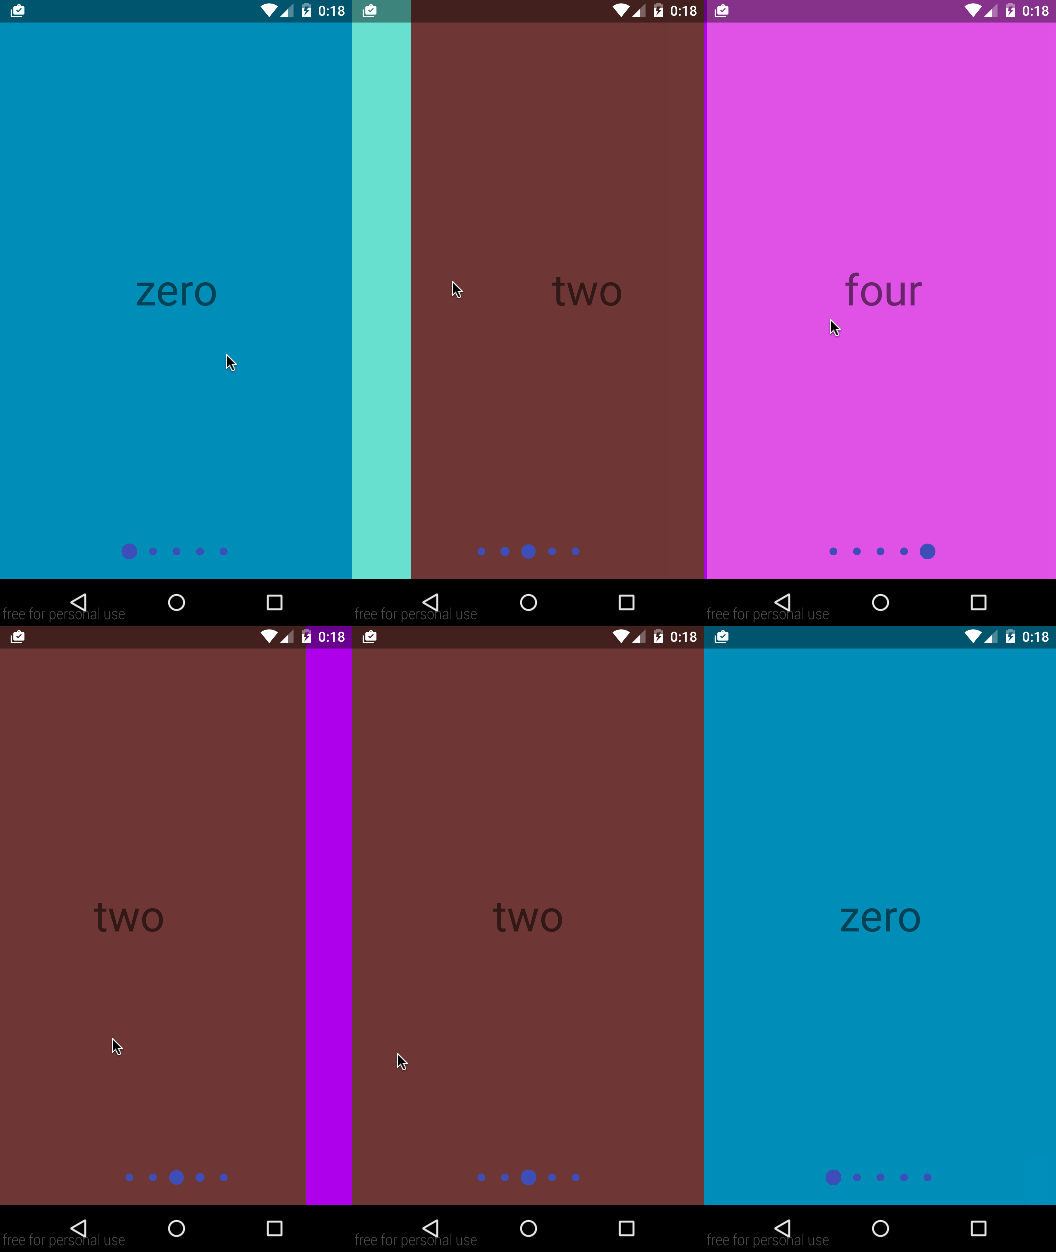
- TransformIndicatorActivity
- IndicatorTransformer
これをすると大分リッチ感を演出できる気がしてます。 先ほどとは異なり、 Fragmentにインジケーターを配置しています。
インジケーターはlayout_indicator_transformerの中に配置しています。
<RelativeLayout
    xmlns:android="http://schemas.android.com/apk/res/android"
    xmlns:tools="http://schemas.android.com/tools"
    android:layout_width="match_parent"
    android:layout_height="match_parent">

    ...

    <LinearLayout
        android:id="@+id/layout_indicator_transformer"
        android:orientation="horizontal"
        android:gravity="center"
        android:layout_alignParentBottom="true"
        android:layout_width="match_parent"
        android:layout_height="?actionBarSize">

        <View
            android:id="@+id/view_indicator_1"
            android:layout_margin="@dimen/small_margin"
            android:background="@drawable/circle"
            android:layout_width="@dimen/small_margin"
            android:layout_height="@dimen/small_margin"/>
        ...

    </LinearLayout>

</RelativeLayout>
PageTransformer
スワイプした際のアニメーションをカスタムするためのインタフェースです。
スワイプするたびに、transformPage(View view, float position)が呼ばれるようになります。
次のようにViewPagerにセットします。
    private void initViewPager() {
        ...
        viewPager.setPageTransformer(false, new IndicatorTransformer());
        ...
    }
transformPage(View view, float position)
viewはViewPagerが現在保持しているViewが順に呼ばれます。
ViewPagerはデフォルトで、表示されているView+前後1つの計3つViewを保持するので、両端以外では、スワイプの動作の度に3度呼ばれます。
positionでViewの状態を判定します。
position <= -1ならば、現在表示しているViewより 左にある、隠れているViewです。-1 < position && position < 0ならば、 現在表示されているViewで、左側にあるものです。スワイプ中は2つのViewが表示されるので、その左側です。0 <= position && position <= 1ならば、 現在表示されているViewで、右側にあるものです。スワイプ中は2つのViewが表示されるので、その右側です。それ以外ならば、現在表示しているViewより 右にある、隠れているViewです。
現在見えていないViewの扱いは、変更した値を初期値に戻すなどの使い方をするようです。今回は未使用です。
Fragmentにインジケーターを配置しているので、そのままではスワイプとともに動いてしまいます。なので、setTransitionXで負の値を掛けて、 スワイプしてもその場に居続けるようにしています。
居続けて欲しいのはFragment全体ではなく、インジケーターが配置されているlayout_indicator_transformerです。
    @Override
    public void transformPage(View view, float position) {
        float alpha = 0;
        int width = view.getWidth();
        if (position <= -1) { // [-Infinity,-1)
            // This page is way off-screen to the left.
        } else if (-1 < position && position < 0) {
            // left side shown View
            alpha = position + 1;
            view.findViewById(R.id.layout_indicator_transformer).setTranslationX(-width * position);
            leftTransition(view, position, alpha);
        } else if (0 <= position && position <= 1) {
            // right side shown View
            alpha = 1 - position;
            view.findViewById(R.id.layout_indicator_transformer).setTranslationX(-width * position);
            rightTransition(view, position, alpha);
        } else { // (1,+Infinity]
            // This page is way off-screen to the right.
        }
    }
これに加え、leftTransitionとrightTransitionというメソッドを作成し、インジケーターの拡大縮小を行います。
前述したように、ViewはViewPagerで管理しているViewが順に呼ばれます。どのViewなのかは、 Tag or idで取得します。
Fragment生成時にsetTagをしておくと、任意のViewを判別できると思います。
または、Viewのidで判別もできます。Fragmentのルートのレイアウトのidが取得できるので、Tagは他の用途に利用したい時などはidで判別すると良いです。
今回は共通のxmlを利用しているので、Tagで識別します。
    private void leftTransition(View view, float position, float alpha) {
        View indicator1 = view.findViewById(R.id.view_indicator_1);
        View indicator2 = view.findViewById(R.id.view_indicator_2);
        View indicator3 = view.findViewById(R.id.view_indicator_3);
        View indicator4 = view.findViewById(R.id.view_indicator_4);
        View indicator5 = view.findViewById(R.id.view_indicator_5);

        // use tag or layout id
        switch ((int)view.getTag()) {
            case 0:
                indicator1.setScaleX(2 + position);
                indicator1.setScaleY(2 + position);
                indicator2.setScaleX(1 - position);
                indicator2.setScaleY(1 - position);
                break;
            case 1:
                indicator2.setScaleX(2 + position);
                indicator2.setScaleY(2 + position);
                indicator3.setScaleX(1 - position);
                indicator3.setScaleY(1 - position);
                break;
            case 2:
                indicator3.setScaleX(2 + position);
                indicator3.setScaleY(2 + position);
                indicator4.setScaleX(1 - position);
                indicator4.setScaleY(1 - position);
                break;
            case 3:
                indicator4.setScaleX(2 + position);
                indicator4.setScaleY(2 + position);
                indicator5.setScaleX(1 - position);
                indicator5.setScaleY(1 - position);
                break;
            case 4:
                indicator5.setScaleX(2 + position);
                indicator5.setScaleY(2 + position);
                break;
        }
    }
Viewをアニメーションさせる
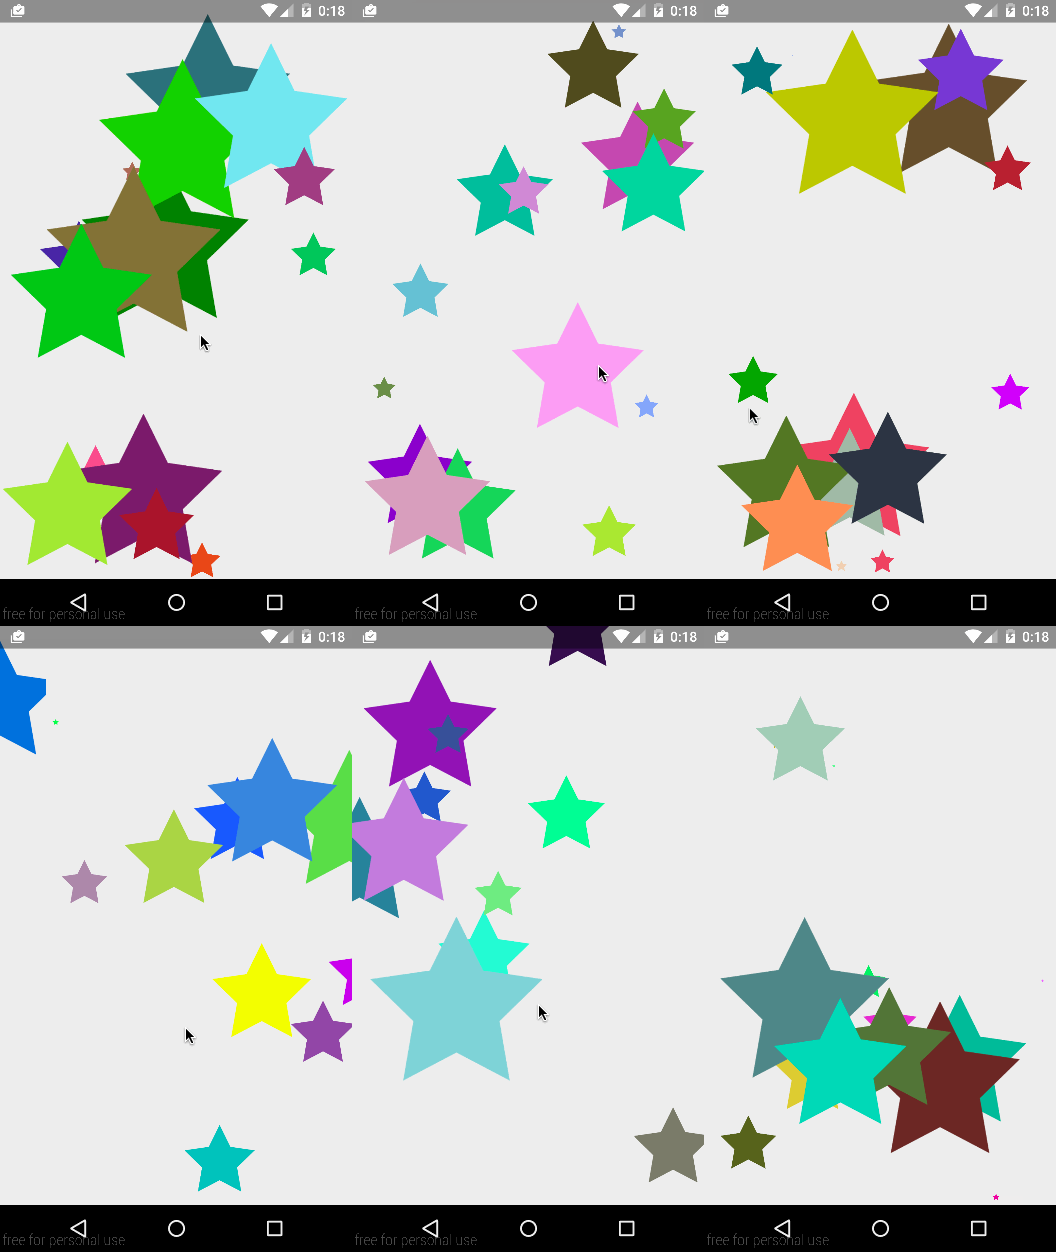
- ParallaxAnimationActivity
- AnimationTransformer
あまりいいサンプルが思いつかず、星を動かしてみました。
動的にViewを生成しています。 X横方向のみではなく、Y縦方向にも動きます。
Viewを指定位置へアニメーションさせる
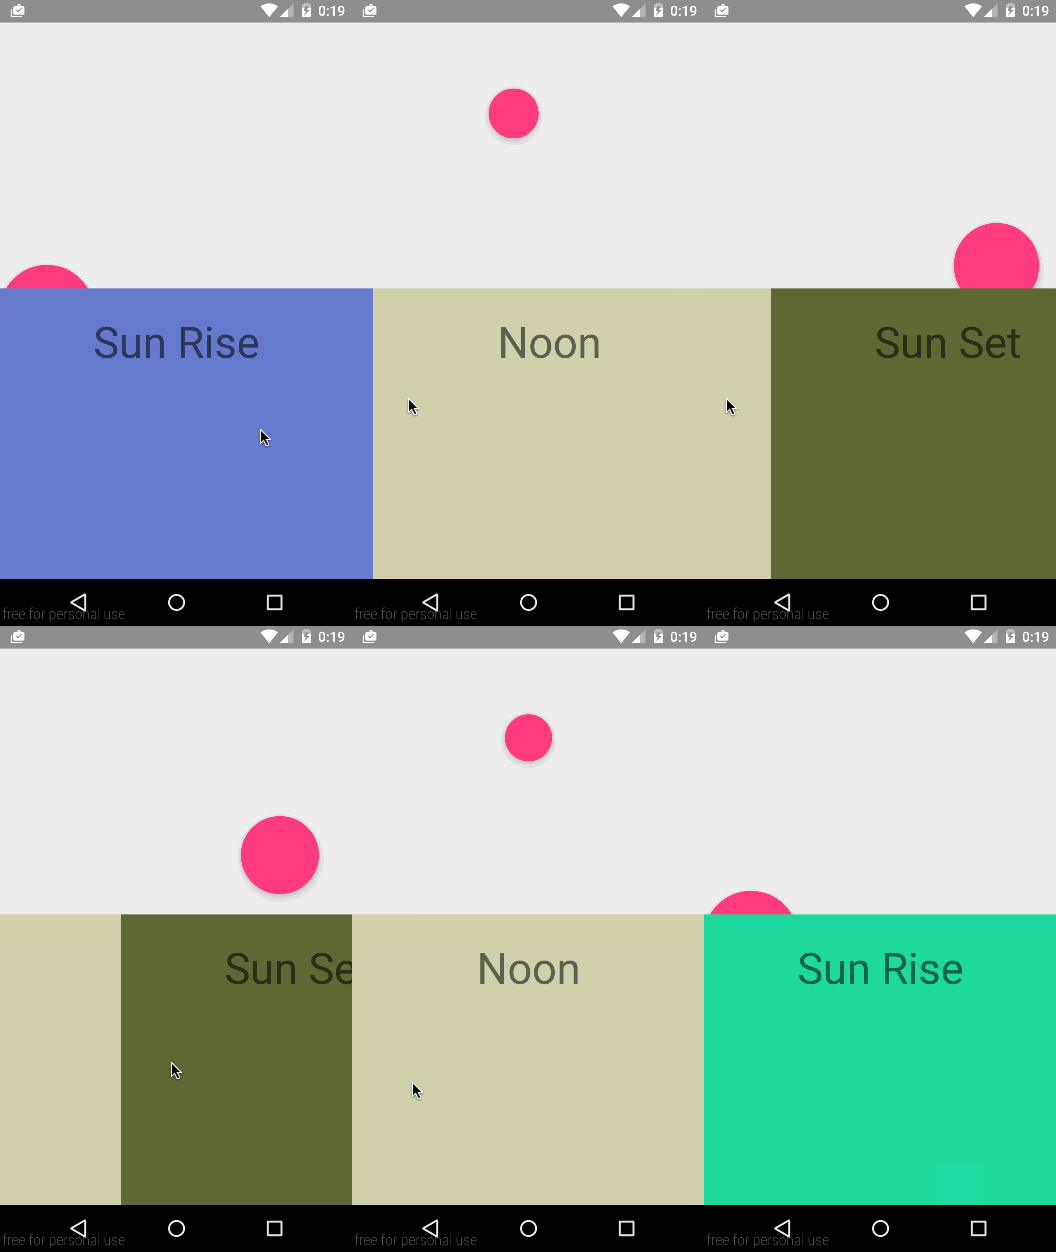
- TransitionAnimationActivity
PageTransformerは使っていません。
動かしたいアニメーションの導線をPathで書きます。
    private void sunSets(float fraction) {
        final Path path = new Path();
        ...
        float x = noon[0];
        float y = noon[1];
        path.moveTo(x + 0, y + 0);
        path.cubicTo(
                noon[0] / 3 * 4, morning[1] / 4,
                noon[0] / 3 * 5, morning[1] / 5 * 2,
                evening[0], evening[1]
        );
        ...
    }
PathMeasure
生成したPathを、PathMeasureに渡すことで、始点から終点までに通る導線のxy座標を、取得できるようになります。
fractionには0~1の値が入っています。onPageScrolledで呼び出し、positionOffsetの値を利用しています。
    private void sunSets(float fraction) {
        final Path path = new Path();
        ...
        sunSetsPathMeasure.setPath(path, false);
        float[] point = new float[2];
        sunSetsPathMeasure.getPosTan(sunSetsPathMeasure.getLength() * fraction, point, null);
        ...
    }
getPosTan(float distance, float[] pos, float[] tan)
distanceには、自身の値を渡します。この値に、0~1の値をかけて、
アニメーションの変化の過程を表現します。
posとtanに引数を渡すと、それぞれ導線上のxy座標とtangentXYが格納されます。今回はposのみ引数を渡しています。
posの引数に渡した配列を利用して、アニメーションさせたいViewを所定の位置へ移動させます。
    private void sunSets(float fraction) {
        ...
        final View v = findViewById(R.id.sun);
        v.setScaleX(1f - 1f * (1 - fraction) / 2);
        v.setScaleY(1f - 1f * (1 - fraction) / 2);
        ...
        float[] point = new float[2];
        sunSetsPathMeasure.getPosTan(sunSetsPathMeasure.getLength() * fraction, point, null);
        v.setX(point[0]);
        v.setY(point[1]);
    }
視差を使う
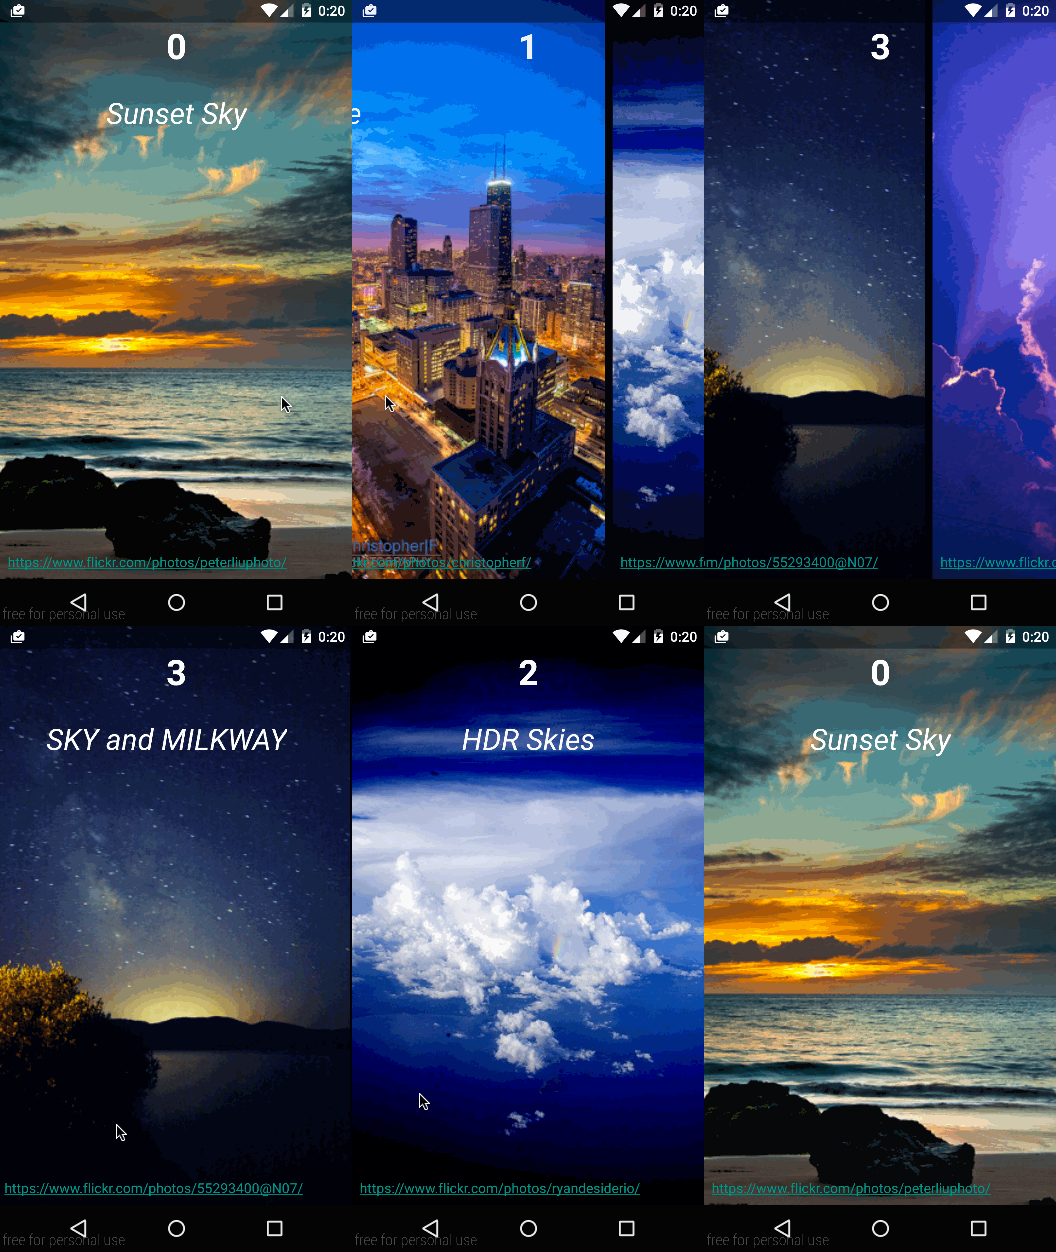
- ParallaxImageActivity
- ImageFragment
- ImageTransformer
Viewをアニメーションさせるでも一部利用したのですが、さらに分かりやすい形で表現します。
ViewPagerの両端に隙間をつけます。
    private void initViewPager() {
        ...
        viewPager.setPageMargin(getResources().getDimensionPixelSize(R.dimen.small_margin));
        ...
    }
transformPageで視差をつけます。
このとき扱うViewの数が増えてきた場合、ViewHolderを作成する方が効率が良いので、一応作成します。
ImageFragmentの中で定義しています。
    @Override
    public View onCreateView(LayoutInflater inflater, ViewGroup container,
                             Bundle savedInstanceState) {
        View view = inflater.inflate(layout, container, false);

        ViewHolder holder = new ViewHolder(view);
        view.setTag(holder);

        holder.title.setText(number + "");
        holder.subTitle.setText(text);
        holder.backImage.setImageResource(drawable);
        holder.author.setText(author);
        view.setBackgroundColor(Color.rgb((int) (Math.random() * 255), (int) (Math.random() * 255), (int) (Math.random() * 255)));
        return view;
    }

    public static class ViewHolder {

        public ImageView backImage;
        public TextView title;
        public TextView subTitle;
        public TextView author;

        public ViewHolder(View view) {
            this.backImage = (ImageView) view.findViewById(R.id.image_back);
            this.title = (TextView) view.findViewById(R.id.text_title);
            this.subTitle = (TextView) view.findViewById(R.id.text_sub_title);
            this.author = (TextView) view.findViewById(R.id.text_author);
        }
    }
生成したViewHolerをViewにsetTagしておきます。
transformPageで、先ほどsetTagしたViewHolderを取得します。
getTagがnullにはならないはずですが、一応入れています。
    private void viewTransition(View view, float position, float alpha) {
        ImageFragment.ViewHolder holder;
        if (view.getTag() == null) {
            holder = new ImageFragment.ViewHolder(view);
            view.setTag(holder);
        } else {
            holder = (ImageFragment.ViewHolder) view.getTag();
        }

        int width = view.getWidth();
        holder.title.setTranslationX(- width * position);
        holder.subTitle.setTranslationX(width * 2 * position);
        holder.backImage.setTranslationX(- width / 2 * position);
    }
3つのViewの動きを変えます。
holder.titleは その場に留まるように。holder.subTitleは スワイプする指より早く捌けます。holder.backImageは スワイプする指より遅く捌けます。
遅く捌ける画像と、ViewPagerの端が見えること、スワイプする指とは異なる動きをするViewによって、視差をより感じます。
まとめ
- 動きに合わせて何かをしたい場合は、変化量を正規化する
- 色は
ArgbEvaluator, 移動はPathMeasure - スワイプ時に相互のViewに影響を与える場合は
PageTransformerを使う
紹介したものを組み合わせれば、大体のことはできると思います。 Slackのチュートリアルはしとやかにリッチで参考になります。
リッチなチュートリアルを作成すると、アプリの期待も高まります。 ユーザの離脱を抑えて、より価値を表現するチュートリアルを作ってユーザの心をつかみましょう。
参考
AndroidのViewPager.PageTransformerでスライドアニメーションを作る / Qiita
Using ViewPager for Screen Slides / Android Developers
Android move object along a path / StackOverFlow